

Now that Passover is behind us, we head into a complicated period of mourning and celebration in Israel and, by extension, here too.
Traditionally, we begin counting the Omer on the second night of Passover. The counting lasts for 50 days and ends on Shavuot. The name derives from the word omer, which refers to a sheaf of barley, the first grain harvest brought to the Temple on the second day of Passover. After 50 days, the first wheat harvest is ready and is brought to the Temple on Shavuot.
The whole period of the Omer is considered a time of semi-mourning, when traditional Jews avoid large celebrations and haircuts. The reasons are a little muddled by history, but one explanation centers on the great sage, Rabbi Akiva. Lore says that a plague was killing Akiva’s students in droves because they were being disrespectful to one another. The mourning is lifted for one day on the 33rd day of the Omer, to commemorate the end of that plague.
Another, possibly more historically accurate, explanation rests with the Bar Kochba revolt – an uprising against Roman occupiers that took place and failed during the second century of the common era. Many of Bar Kochba’s followers were killed during the fighting. When the Rabbis were compiling the Talmud, not too many years later, they were still hesitant to talk positively about the revolt, so they wrapped the mourning story around Rabbi Akiva’s students instead.
Fast forward to the 20th century. Jews experienced the Holocaust, the birth of the State of Israel, and the reunification of Jerusalem after the Six Day War in 1967. This collection of significant events is punctuated by the loss of thousands of Israeli soldiers defending Israel, from 1948 right up until today.
This leads us to “The Yoms,” an English-ification of the Hebrew word yomim, meaning days. This year we begin with:
- Yom HaShoah (April 13-14), Holocaust Remembrance Day
- Yom HaZikaron (April 20-21), Israel Memorial Day (for the soldiers)
- Yom Ha’Atzmaut (April 21-22), Israel Independence Day
- Yom Yerushalayim (May 14), Reunification of Jerusalem
So, if we are going to commemorate these days, these Yoms, with Israeli food, we have to ask: What exactly is Israeli food?
Many Jews, especially here in America, associate Israeli food with things like falafel, shwarma, hummus, and tehina. Also, ingredients such as olives, almonds, and eggplant. These dishes originate, more or less, in the region, from current-day Iran to northern Africa and north to Turkey.
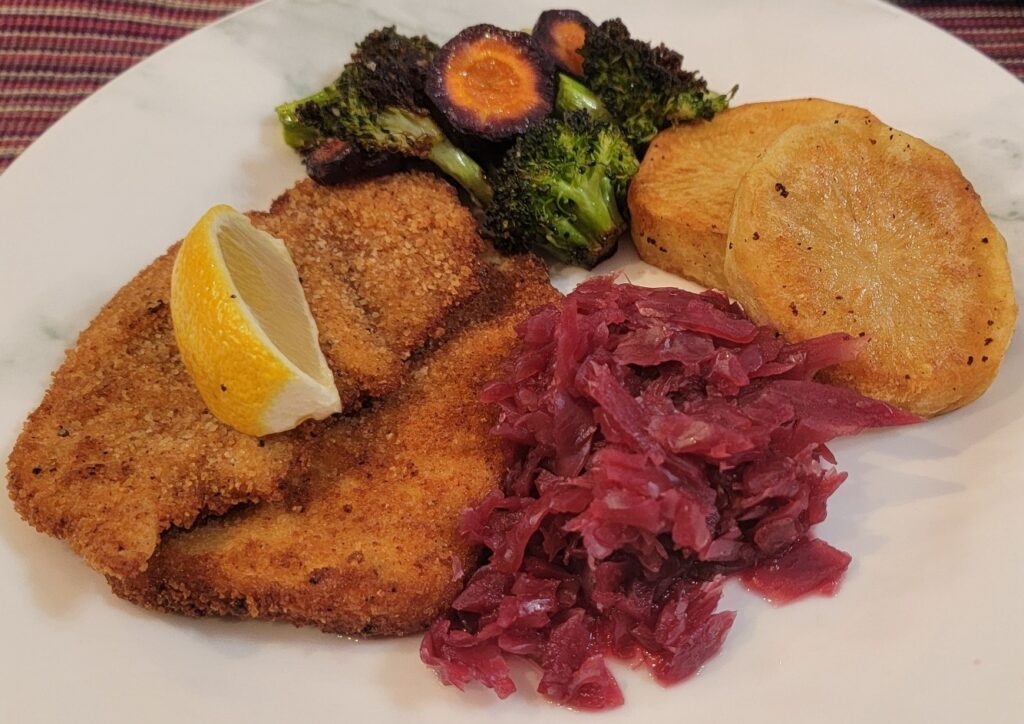
But many of Israel’s first olim, people who came to the land before and after it became a state, came from Europe. They brought with them a delicious dish that has become ubiquitous in Israel – schnitzel.
Originally, this pounded, breaded, and fried meat was made with pork. When Jews adopted the dish, they substituted veal. When they got to Israel, veal was replaced by turkey, which was much more available than hard-to-raise beef or even chicken. Schnitzel is loved by children and adults alike. And it’s delicious hot out of the pan and cold as leftovers.
Schnitzel was in our family’s regular dinner rotation when I was growing up. When I first visited Israel in 1970, my little brother was only seven and a picky eater. The only thing he ate the whole month was familiar schnitzel.
It’s easy to make and uses ingredients that you should always have in your pantry. Like latkes, it is fried, not sautéed, so you need a good amount of oil.
The Breading: Schnitzel is breaded with the classic 3-part method of flour, beaten egg, and breadcrumbs. Flour helps the egg stick; egg helps the crumbs stick. You can season the egg and crumbs with anything you like. My Mom used her holy trio of garlic powder, onion powder, and paprika, plus salt and pepper. In Israel, sesame seeds are usually added to the crumb. I use my favorite seasoning blend, but you can use any blend you like – steak rub, Italian seasoning, za’atar – any dried herbs or spices will work.
Cut the Protein: My Mom used to pound her cutlets, but I eliminated that step. Use a boneless breast. If it’s frozen, let it defrost about halfway. If it’s not, put it in the freezer for about 30 minutes to make it easier to cut. Use a sharp, flexible knife to cut the breast across the equator into thin slices. Depending on the thickness of your cutlet, you should get at least 3, maybe 4 slices per chicken breast. If your cutlet is very uneven – with one end much thicker than the other, cut it pole to pole where the thick end meets the thinner end and handle each piece separately. Remove the tender, pull out the tendon, and butterfly it.
Frying: Like I said, schnitzel is fried, not sautéed. You need about ¼ to ½ inch of neutral vegetable oil in your pan to do it right. The oil should be hot, but not scorching or smoking, let’s say medium high to almost high on your stovetop. Lay each piece into the oil, letting it fall away from you to avoid splashes. And then leave it alone. Fry until golden brown on both sides. When it’s ready to turn, IT WILL LET GO of the pan. If it’s sticking, either it’s not ready to turn, or you don’t have enough oil. If your slices are thin enough, it will take only 3 to 4 minutes per side. Work in batches, completing each before starting the next. Drain the cutlets on paper towel layers; then place on a parchment-lined baking sheet, tent with foil, and keep warm in the oven until serving.
Schnitzel
It’s hard to provide exact amounts for the ingredients. It depends on the weight of your breast and how many slices you get. Start with about ½ cup of flour, 2 beaten eggs, and 1 cup of breadcrumbs. You can always add more if needed.
Ingredients
Flour
Egg, beaten
Breadcrumbs
Boneless chicken or turkey breast
Seasoning blend of your choice
Sesame seeds
Neutral oil
Directions
- Slice the cutlet(s) across the equator into thin slices.
- Season the crumbs with your seasoning of choice.
- Place the flour and breadcrumbs on 2 separate plates. (Use large paper plates for easier clean-up.) Beat the eggs in a shallow bowl.
- Use the dry hand / wet hand method to bread the cutlets.
Use one hand to coat the cutlet on both sides with flour. Use the same hand to remove it from the flour and place it in the egg.
Use your other hand to coat both sides completely with egg. Lift the cutlet and let any excess egg drip back into the bowl. Place it in the breadcrumbs.
Use the first hand (your dry hand) to coat the cutlet in crumbs. Start by scooping some crumb onto one end of the cutlet to create a crumb-covered handle. Turn it over and press into the crumb. Make sure both sides are fully covered. - Remove to a clean plate. You can bread the cutlets early in the day and leave them in the fridge to set.
- Remove the cutlets from the fridge about half an hour before you’re ready to fry. Heat about ¼ to ½ inch of oil in a medium skillet until you can see the oil start to move on top. If it smokes, it’s much too hot. Remove from the heat and let it cool some.
- Place cutlets into the oil carefully, laying them down away from you so hot oil doesn’t splash toward you.
- Use tongs to turn them after one side is golden brown – about 3 to 4 minutes.
- Remove to paper towels to drain; move to a parchment-lined baking sheet to keep warm in the oven.